Make actions CLI-ready
Expose a tool’s operations as commands that people and agents can discover, run, and check from a terminal.
Start with a shared command
A CLI-ready tool gives each main operation a declared command. A person can run that command from the workbench. An agent can run it through pst with the same inputs, without looking for the right button.
Start with the Bookmarks tutorial. It declares an add command using defineCommand, sets cli: true, and attaches a toolbar action to addBookmark.ref. The handler owns the storage write and the change event. The toolbar opens a form; the CLI supplies flags. Both call the same handler.
For an extension package named bookmarks, the tutorial exposes:
pst bookmarks add --title "Prompt Studio" --url https://prompt.studio
pst bookmarks list
The first command returns the saved bookmark, including its ID. The second reads the saved collection. An agent can perform the action and check what exists afterward.
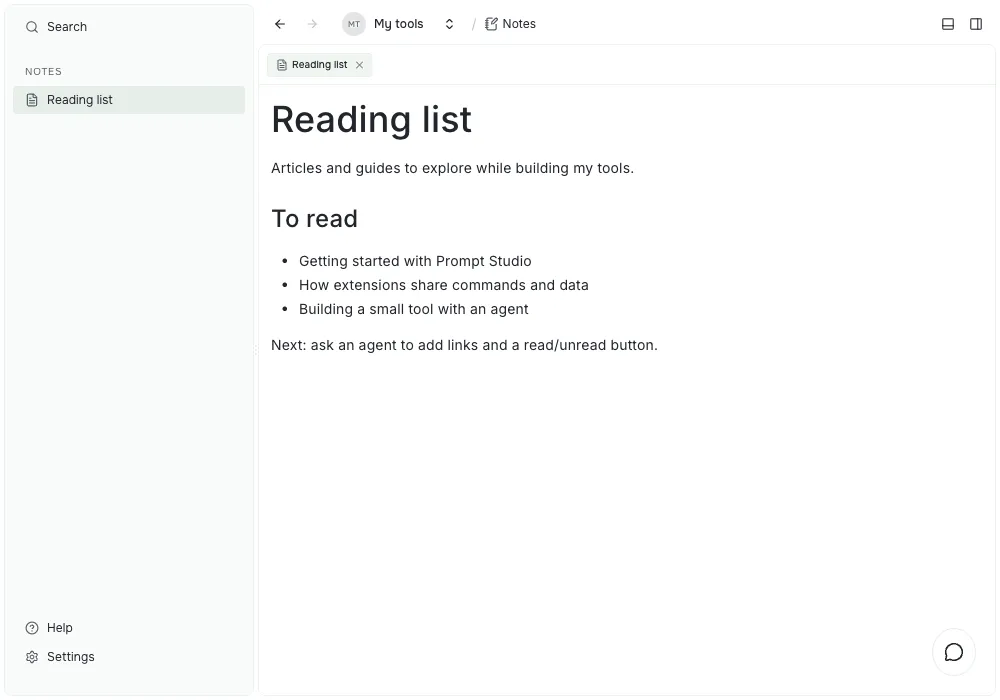
Notes is another extension with CLI-ready actions: its New note and Rename note commands can be called from the workbench or terminal. This image shows a sample note, rather than the Bookmarks tool.
Connect the UI to the command
Set cli: true on the command definition and include the command in defineExtension({ commands: [...] }). Connect a native toolbar or menu action to that command’s ref. The Bookmarks tutorial uses command: addBookmark.ref and the same bookmarkParams as its form input.
For a custom webview, declare the commands.execute bridge capability and call the declared command through the webview client. Keeping a write only in the webview’s click handler does not expose it to the CLI.
Keep domain validation and storage changes in the command handler. The UI gathers inputs and presents the result. Changes made through either route should emit the same refresh event so an open view updates.
Use a description that states the result. Declare required inputs with params, and return useful state rather than only a message saying Done. Add CLI examples when an operation needs several flags or a structured value.
Let an agent discover and call it
Install and enable the extension, then run from the project folder:
pst --help
pst bookmarks --help
pst bookmarks add --help
pst bookmarks list --json
Top-level help lists the project’s enabled extension namespaces when run in a linked project folder with a reachable runtime. Otherwise, it shows only core commands. Namespace help lists command paths. Command help identifies the provider and shows flags and examples. An extension may also declare shorter aliases; help lists them. An agent should read the help before inventing a command name or flag.
From another folder, target the project explicitly:
pst bookmarks list --project-id <project-id> --jsonThe runtime uses that project’s extension settings and storage. If the command is missing, check that the extension is installed and enabled in that project. A global installation alone does not turn a tool on in every existing project.
Use typed inputs and readable results
Parameter names become CLI flags: noteId becomes --note-id. Text takes a value, numbers take a number, and list inputs repeat the flag. Structured inputs use quoted JSON. For example, a command declaring a workspace parameter can accept:
pst <extension> <command> --workspace '{"providerId":"pstdio.worktree","params":{"base":"main"}}'Use the command’s actual name and provider fields from --help and its documentation. CLI contributions lists the supported input forms and alias rules.
A successful extension command normally prints its returned value as JSON. Add --json for the full execution response. Check outcome.ok before using outcome.value; a failure or rejection exits with code 1. Return stable IDs so a later operation can target the created item.
For the Bookmarks tutorial, an agent can:
- Read
pst bookmarks add --help. - Add a bookmark and inspect its result.
- Run
pst bookmarks listto check the saved state. - Use the returned ID in any follow-up command the tool provides.
Add read or list commands where the agent needs them. A toolbar-only view query does not by itself create a CLI operation. For settings or editor content, expose the supported operations rather than requiring callers to edit internal storage files.
Check both entry points
After implementing a tool, create an item through the CLI and check it in the workbench. Then create or change an item through the UI and inspect it through the tool’s read command. Confirm that both routes share the saved state and refresh open views.
Missing required flags should fail with a clear error. Check the returned outcome, rather than treating a finished agent turn as proof that the operation succeeded. Smoke checks validate initial page loading; they do not replace trying the tool’s actual commands and workflows.
Local agents and remote automation
An agent running pst in your project uses the local CLI command path. CLI exposure does not grant a separate identity or bypass command validation and middleware.
Scoped machine tokens are a different path. A command must declare automation: true before it can be granted to such a token; the grant names the allowed command. See Remote automation. cli: true and automation: true have separate jobs.
Ask for this when building a tool
You do not need to write the command declarations yourself. Include CLI access in the request you give your agent:
Build a reading-list extension. Let me add a link, list the items, and mark an item as read from its page. Make those operations CLI-ready through pst, with useful help and returned IDs. Show that an item created through the CLI appears in the page, and that a change in the page is visible through the list command.
The result is a tool you and your agents can use through the same operations. See Add tools to set up the agent and install its extension-writing skill.